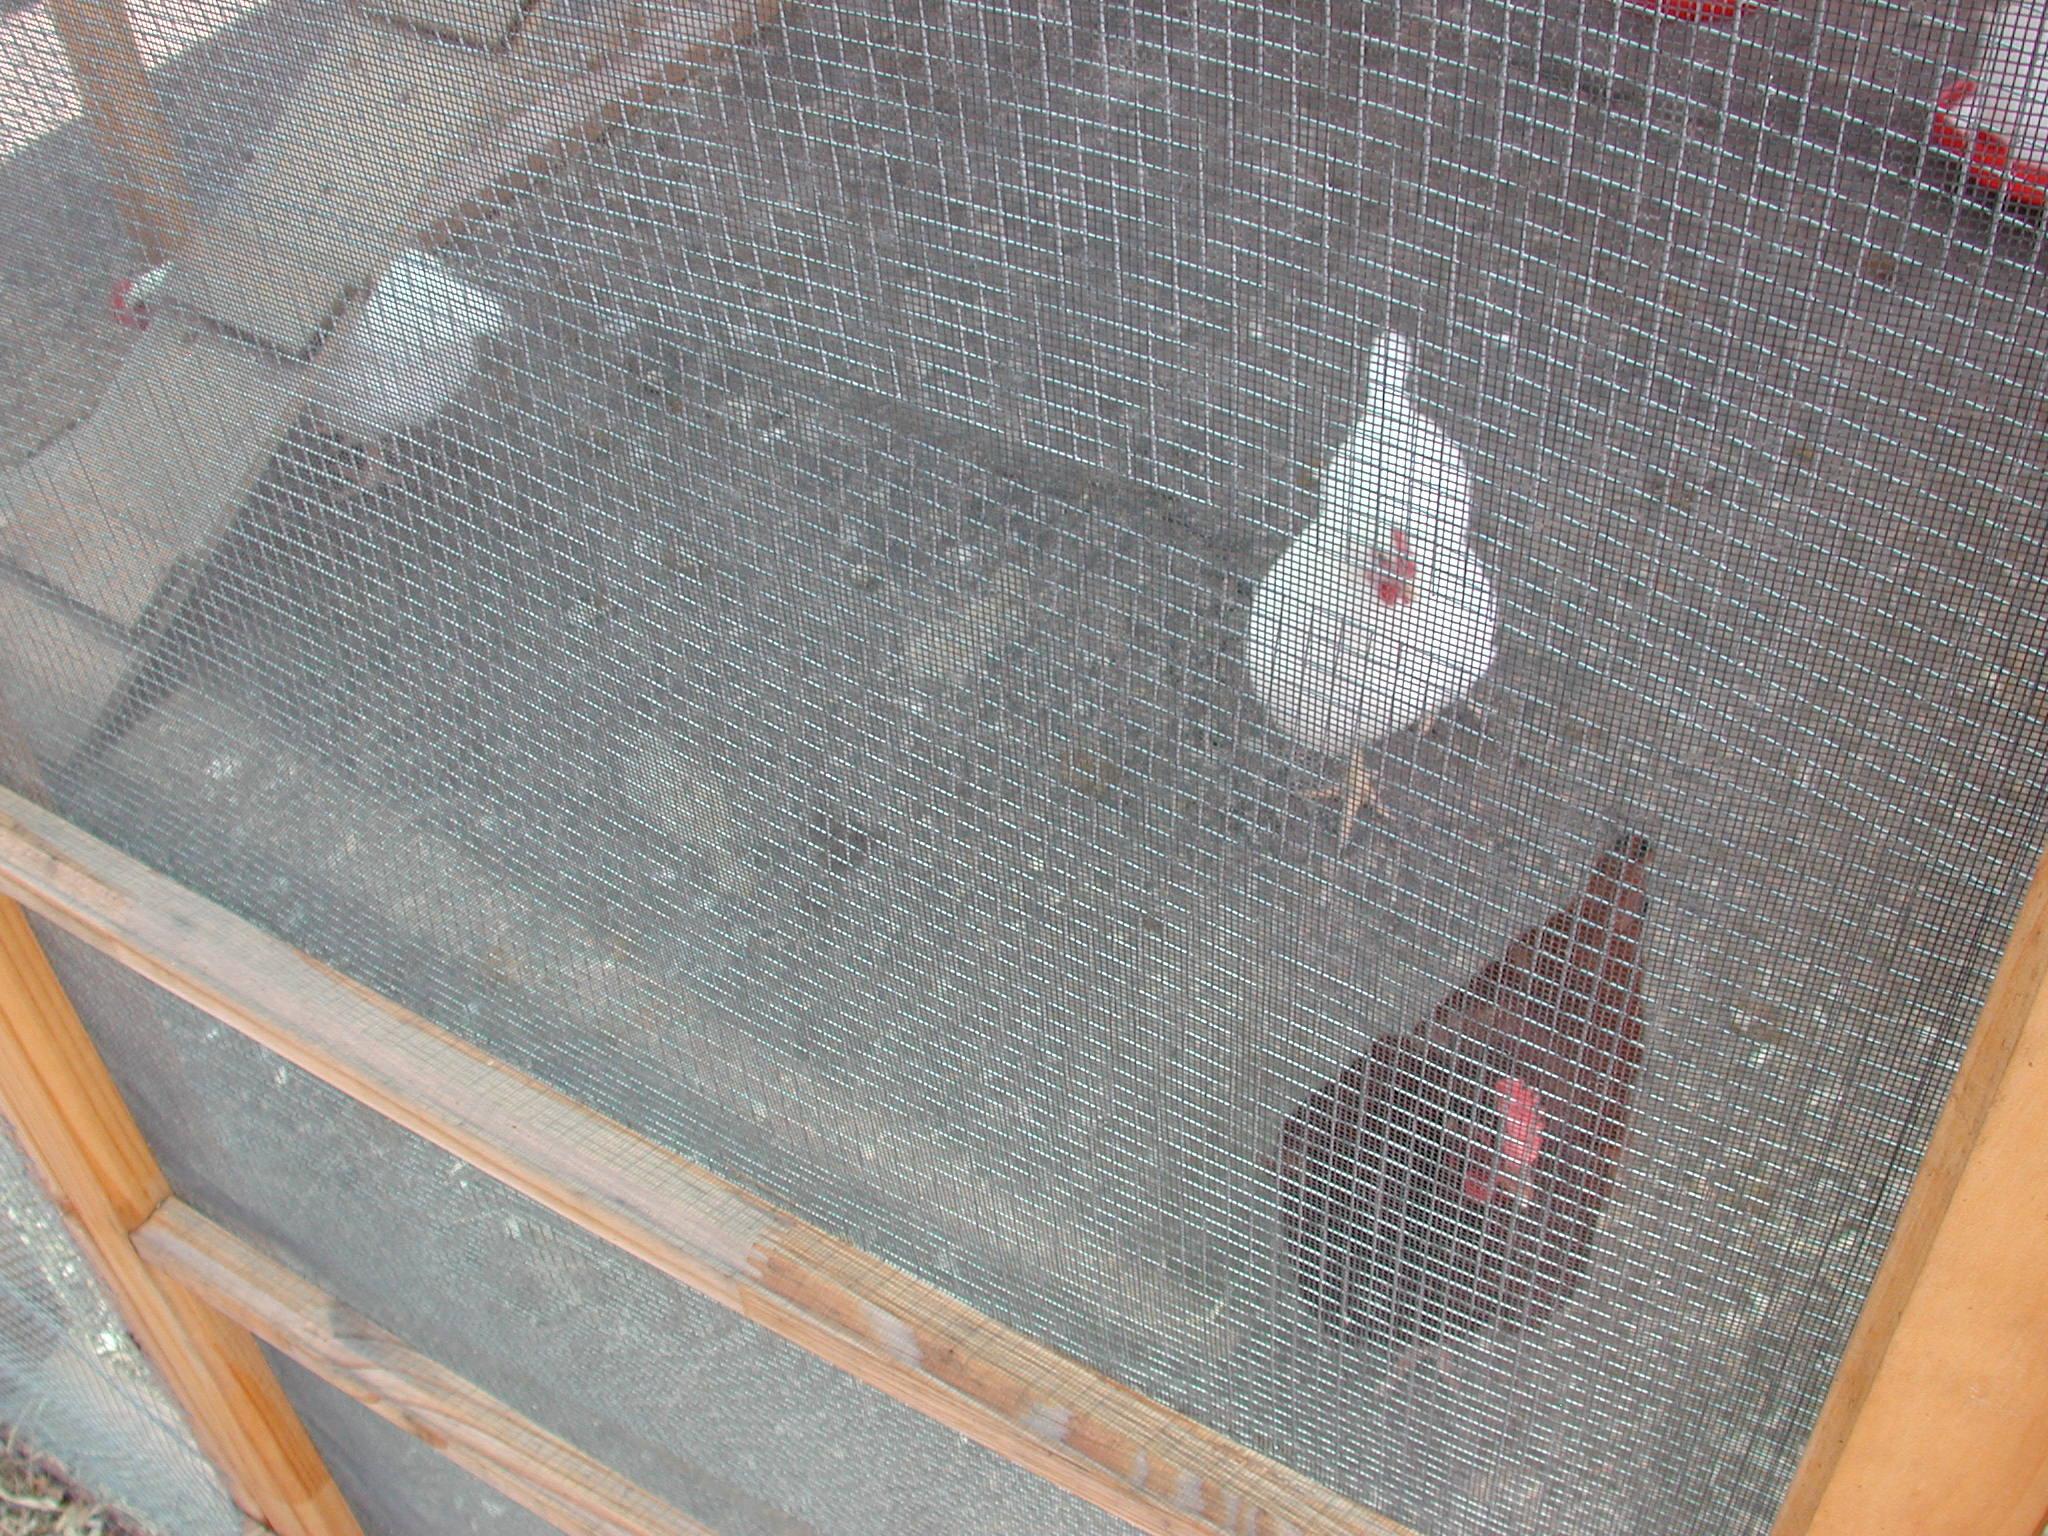
The warmest place in my coop on a January night isn’t under a heat lamp. It’s the floor. That sounds like a joke until you put your hand down there on a twelve-degree morning and feel the bedding warm against your palm, with the flock asleep six inches above it.
I got there the hard way. My first winter I did what the bag of shavings said: a thin layer, scooped out every week, fresh bedding on top. By January the floor was a frozen mat of droppings and shavings I had to break up with a hoe, the coop smelled like ammonia at the latch, and the eggs came in dirty. I was doing more work in the cold than I’d done all summer, and the birds were worse off for it. A neighbor with forty years of hens asked me why I was cleaning a coop in December at all. Then she told me to stop shoveling and start stacking.
What Deep Litter Actually Is
Deep litter is a compost pile that happens to have chickens living on it. You start with a base of absorbent bedding, pine shavings are the standard, and instead of cleaning it out, you keep adding thin layers on top through the winter. The droppings work down into the bedding, the bedding keeps the surface dry, and the whole mass starts to break down underneath the flock. That slow decomposition gives off a little heat, and more importantly it keeps the litter dry and the ammonia down.
The depth is the point. Six to eight inches is the usual target, and it builds as the winter goes. A shallow layer is just dirty bedding. A deep one is an active biological system, and it behaves completely differently under your boots.
There’s a real history behind it, which is part of why I trust it. The deep litter system came out of Ohio in the 1940s, and it spread during the war years because it saved both bedding and labor at exactly the moment both were scarce. The Ohio Agricultural Experiment Station was still publishing research on it in 1959, and by then a generation of keepers had already figured out the practical version. It’s not a homesteading trend. It’s an old answer to an old problem, and the problem was never the cold. It was the muck.
How the System Works Under the Birds
Three things happen at once down there. The bedding absorbs moisture from droppings, which is the main thing a coop floor has to do. The carbon in the shavings balances the nitrogen in the manure, which is the same ratio a compost pile needs to break down without stinking. And the scratching does the turning, because a flock spends half its day fluffing and hunting through the litter. You get a compost pile that turns itself.
What you don’t get is a warm coop in the way a heater gives you warmth. Deep litter takes the edge off, maybe a few degrees, and it does something more useful: it keeps the floor dry and the air cleaner. Wet litter is what creates ammonia, and ammonia is what burns a chicken’s lungs. So the system earns its keep by removing the cause of winter sickness, not by heating the building.
That means it only works with ventilation, and I’d rather say that plainly than sell it as a standalone trick. The moisture has to leave the coop. Deep litter holds the floor dry while the vent carries the damp air out above the roost, and the two systems are really one system. If your coop gets sealed up tight in November, the litter will turn sour no matter how deep you make it. The winter ventilation post covers the other half of this.
Building It, Start to Finish
Start with a clean, dry floor in early fall, before the wet weather. Put down three or four inches of pine shavings and let the flock work it. Through the winter, add a thin layer every week or two, more in the wet weeks and less in a dry cold snap. Don’t stir it up aggressively. A light turn with a rake every couple of weeks is enough, and in a small coop the hens will do most of it for you.
Watch the surface, not the calendar. If the top feels damp or the coop smells sharp when you open the door, you need more bedding and more airflow, not a full clean-out. If it’s dry and smells like dust and shavings, the system is working and you should leave it alone.
In spring, do one full clean-out. Everything goes to the compost pile or straight onto the garden, and it’s some of the best material you’ll get all year. That single annual job replaces every weekend scoop of the winter, which is the trade at the heart of the method.
Size the coop before you build the litter. An overcrowded coop concentrates moisture faster than any bedding can absorb it, so run the numbers with the free coop calculator first.
The Mistakes That Sour It
Cedar shavings are the one I’d flag hardest. Cedar oil is a natural insect repellent, and it’s sold as a bedding selling point, but the same compounds irritate a chicken’s respiratory tract in a closed space. Pine is the safer default and it’s cheaper.
Too shallow is the second mistake, and it’s the one I made. Three inches of shavings on a cold floor just becomes a wet mat. You need depth for the biology to work.
Wet is the third. A leaking waterer or a roof drip will drown a deep litter bed in a week, and once it goes anaerobic it’s hard to recover without a full clean-out. Fix the leak, add dry bedding, and open the vent.
And don’t use hay as your base in a damp climate. It mats down and holds water against the floor, which is the opposite of what you want. Straw is better than hay, pine shavings are better than both.
The Picks, With the Pros and Cons
Pine shavings are the standard for a reason. They’re absorbent, they’re light enough for hens to scratch through, and they break down in the compost instead of matting into a wet slab. A compressed bale goes a lot further than it looks and covers the base plus most of a winter’s top-ups in a small coop.
A small, narrow rake gets into the corners where litter packs and lets you turn the top few inches without digging to the floor. That’s the whole job: keep the surface loose, keep the depth even, and let the birds do the rest.
The Bottom Line
Deep litter is the cheapest labor-saving habit in backyard poultry, and it’s been around long enough that you can trust it. Dry bedding, real depth, a vent that works, and one clean-out in spring. My coop went from a January chore I dreaded to a floor I check with my hand and then leave alone.
Set your flock up in the free flock planner first so the coop size matches the birds, then stack the bedding and forget about the shovel until spring. The flock will handle the turning.
Disclosure: this post contains affiliate links; we may earn a commission at no cost to you.